Picture Frame Molding Bedroom
I'll admit, it's been challenging for me to create a DIY tutorial about how you can install molding (otherwise known as trim or paneling) in your home, mostly because there are a lot of intricacies and I sometimes find it hard to understand it myself, let alone explain how to do it. I felt I had my own quirky approach to this and wanted to make sure that the information I am putting out there made sense and was actually useful.
I will say that installing molding can be simple once you get the hang of it and now it's almost soothing to measure, cut and install each piece. Unsure if that makes me a sociopath or not.
PLANNING YOUR MOLDING/TRIM
There are many many ways to get creative with planning out molding, but here are some things to keep in mind:
- The layout/size of the boxes. Pinterest is filled with ideas, but here are a few ideas/examples:
- Floor to ceiling (base to crown), like our living room walls
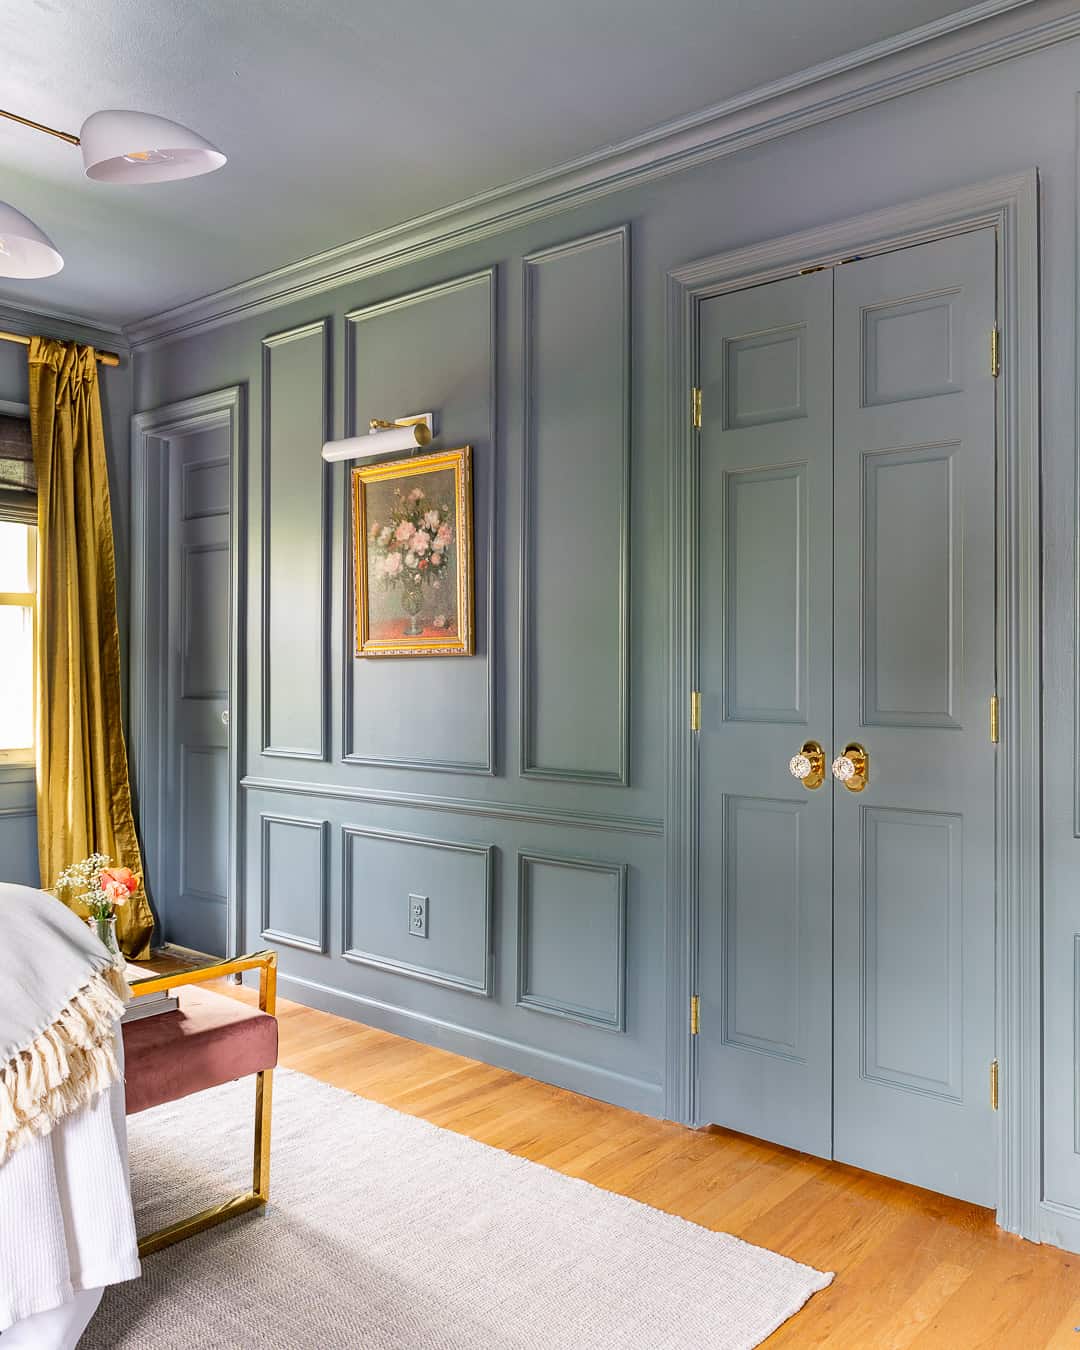
- Large and small stacked boxes (usually with a chair rail in between boxes) on each wall. This requires more measuring and cutting but I think it really elevates the look. I used the box + chair rail + box look in our bedroom and my office.
- You can even do boxes within boxes….inception.
- How much space you have on each wall, how big you want each box to be, and for symmetry, aim to have an odd amount of boxes (usually 3) on each wall, unless…
- It's a wall with windows. Walls with windows can be tricky, but one box on either side of the window would be fine because the window is visually that third box, so you're still pulling off the rule-of-thirds symmetry
- Whether all boxes should be the same width (i.e. in our bedroom, all middle boxes were slightly larger than the 2 end boxes).
- If you want the molding style to match the style of your home. This is a topic of debate, but I personally chose traditional style molding for our bi-level. I mean, if Laurel Bern is on board with adding traditional molding to a ranch/bi-level…say no more.
For this week's post, I'm repurposing the visuals I created for my DIY Molding IG story tutorial a few weeks ago, as it received some positive feedback. I'd like to point out that this tutorial is for wall molding only.
If you're planning to install crown molding, highly recommend this video and installing the crown before the wall molding


Crappy after + before of our whole living room wall, but it's clear that the molding truly elevated the space – the ceilings even look higher!
Some Q&A's I addressed via IG stories but would also like to include here:
Q: Do you paint the wall and molding the same sheen/color?
I paint the wall and molding the same color, but the walls are usually a matte finish and the molding is usually semi or high-gloss
Q: Do you recommend using it on one wall as an accent or throughout the whole room?
I think it looks more cohesive when it's done throughout the room, but it's personal preference.
Q: Do you re-paint the wall and molding once it's installed or just the molding?
The way I approach painting is this:
I paint 1-2 coats on the wall before the molding. Once the molding is installed and caulked/holes are filled, I paint another coat on the wall using a smaller roller (need to get between the boxes and I hate brush strokes). Then I paint 2 coats of semi or high-gloss on the molding using an angular brush.
Q: Can I add boxes without crown molding?
I personally think crown completes the look, but you can totally install boxes without crown!
I hope this tutorial was insightful and that you can use it to install molding in your own home! As usual, please reach out or leave a comment with any questions.
xo
Alisa

Source: https://aglassofbovino.com/2020/03/diy-how-to-install-box-molding-in-your-home/

0 Komentar